Sourdough Bread
Written on February 9th, 2022 by Janvi Madhani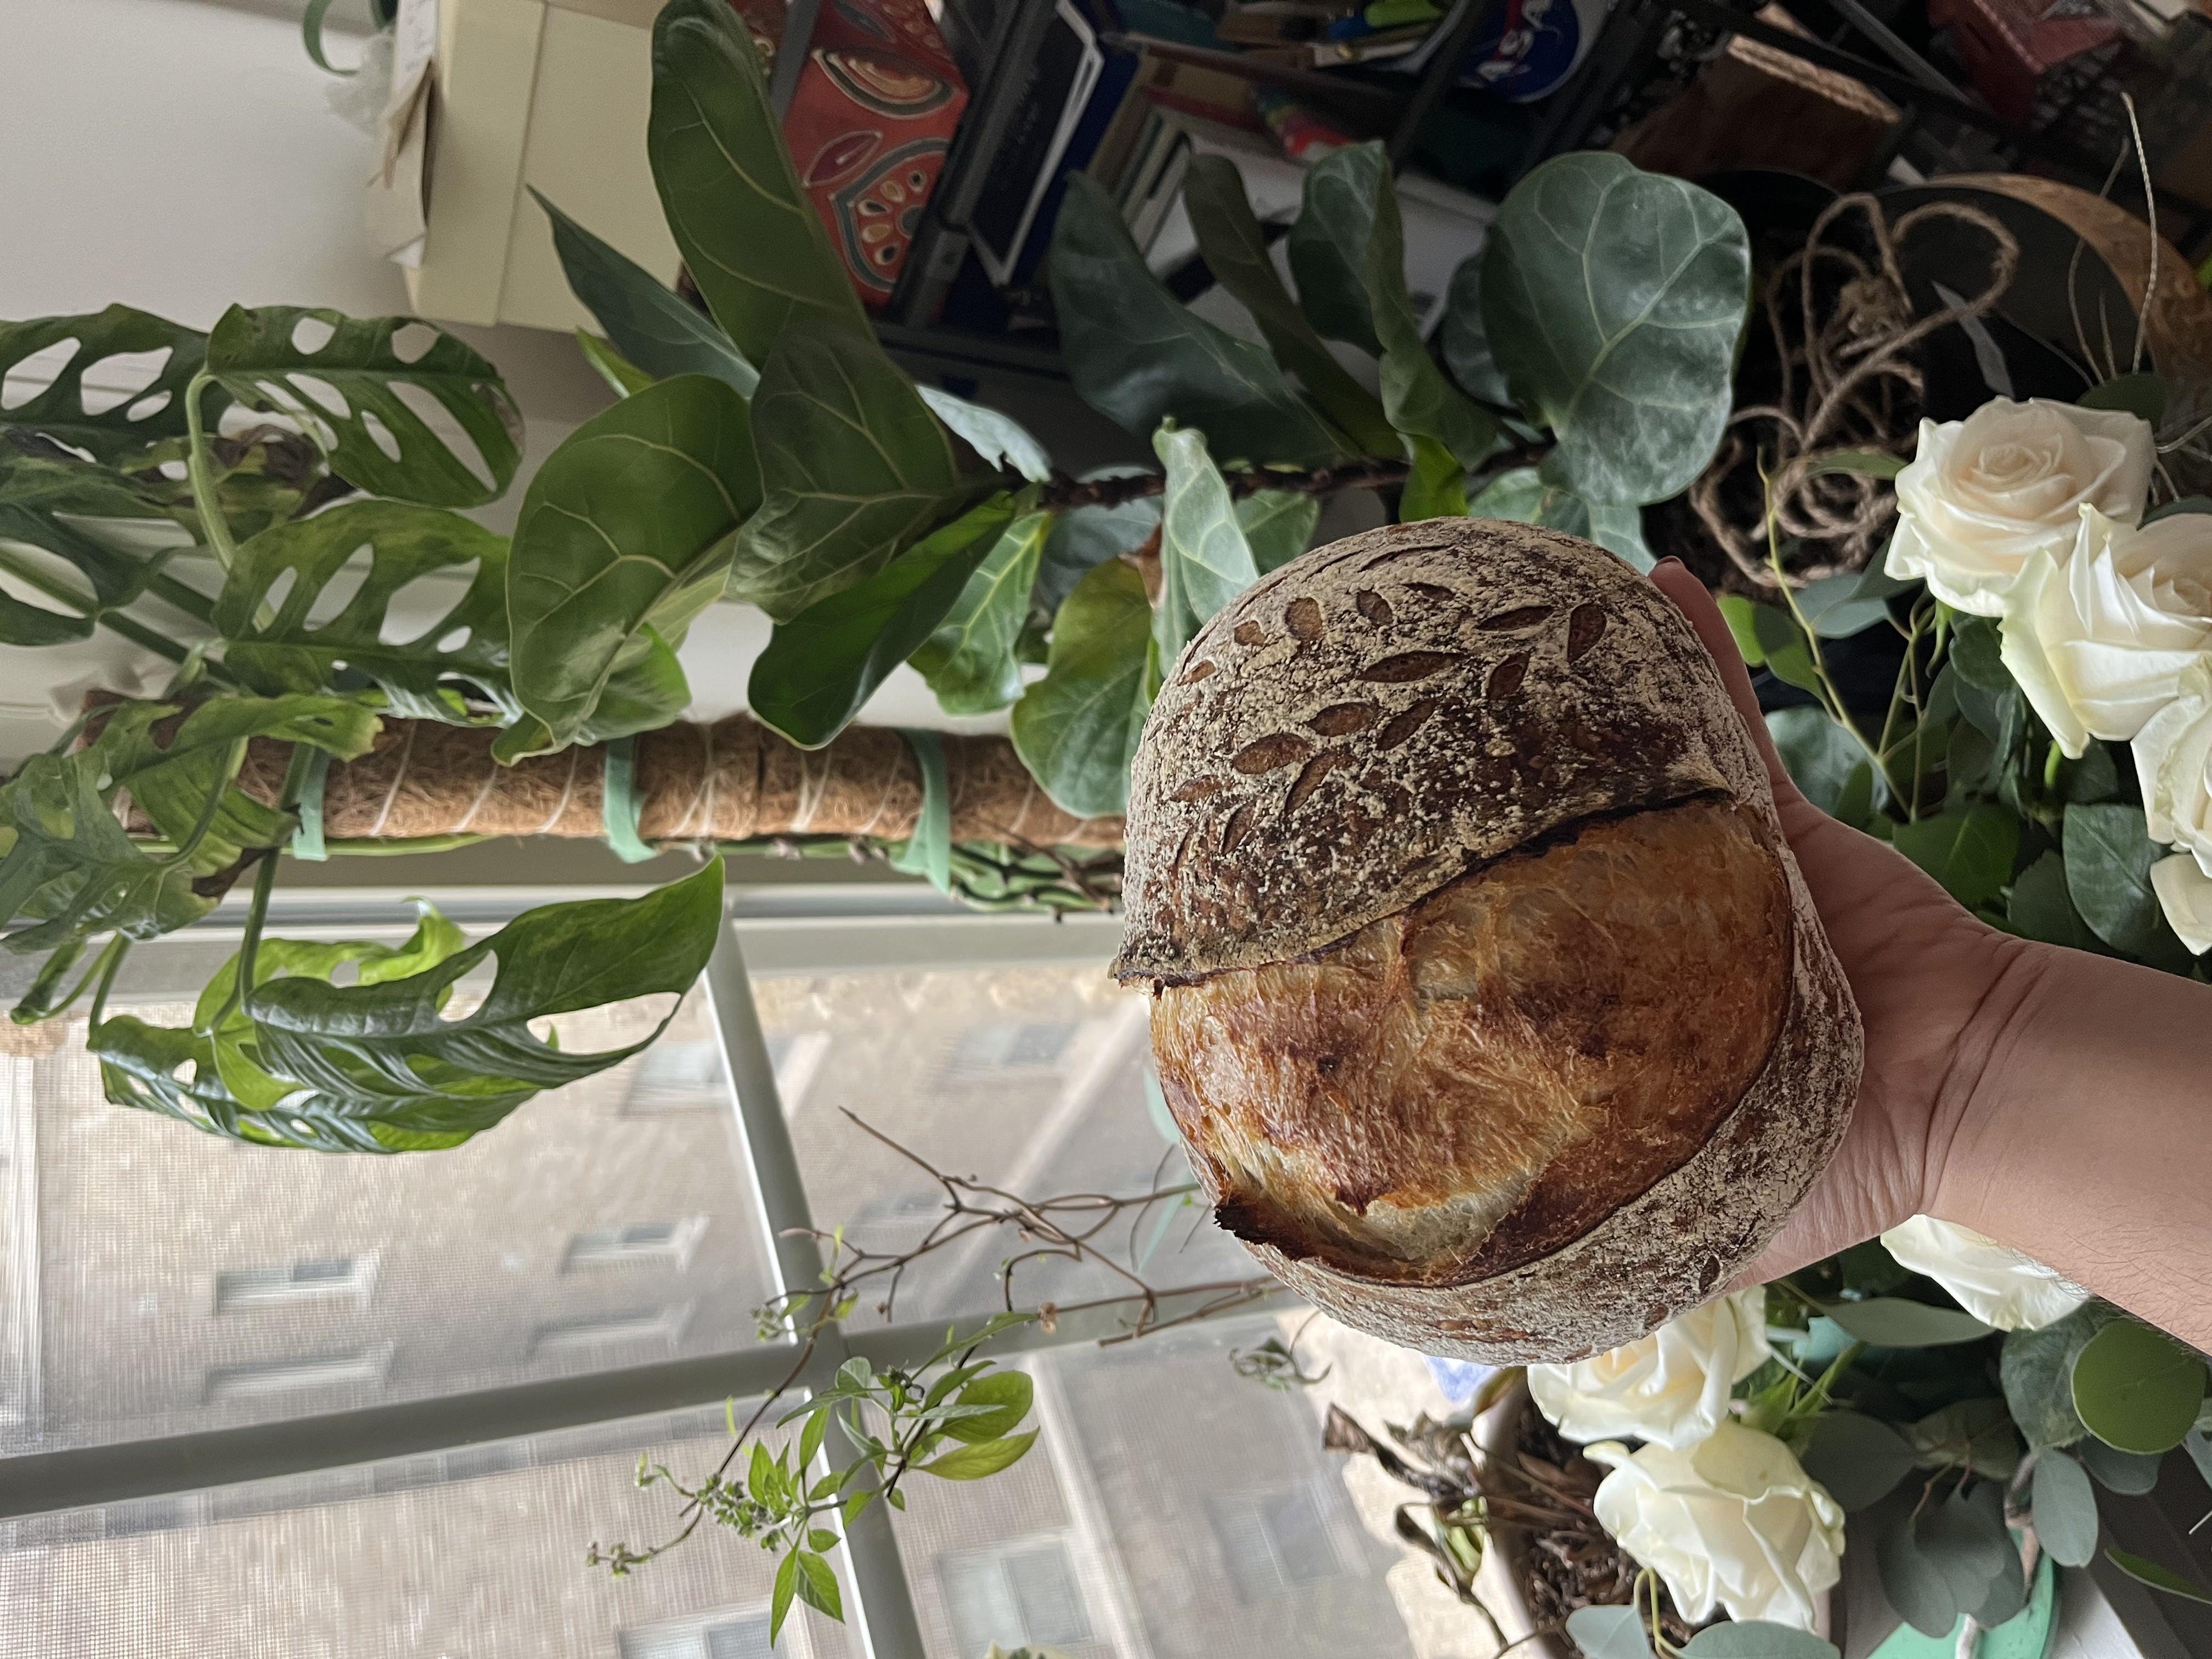
Nearly a year into the pandemic, I finally caved and started learning to make my own sourdough bread alongside two of my friends, Helena and Brandon. It seemed the perfect activity to bring some sense of routine to my now disorganized days. All I knew before I began was that there was some starter involved in which you ferment wild yeast by feeding it with equal parts fresh water and flour every day. This becomes the leavening agent for bread, imparting a tangy, complex, aromatic flavor to your loaf. What I did not know, was that it was a beautiful science, a fun chemistry experiment I could do daily to make delicious loaves of bread right at home. Over the course of 2021, I fed my starter religiously, made MANY loaves of bread, each one getting closer and closer to my idea of a good loaf of bread. I have finally settled on a recipe and honed my techniques and I’m excited to share this journey with you!
Contents
Skip ahead to the part of your interest!
Starter Science and How to Make
Baking Schedule
Levain
Autolyse
Mixing the Dough
Bulk Fermentation
Shaping
Scoring
Let’s start with making the starter
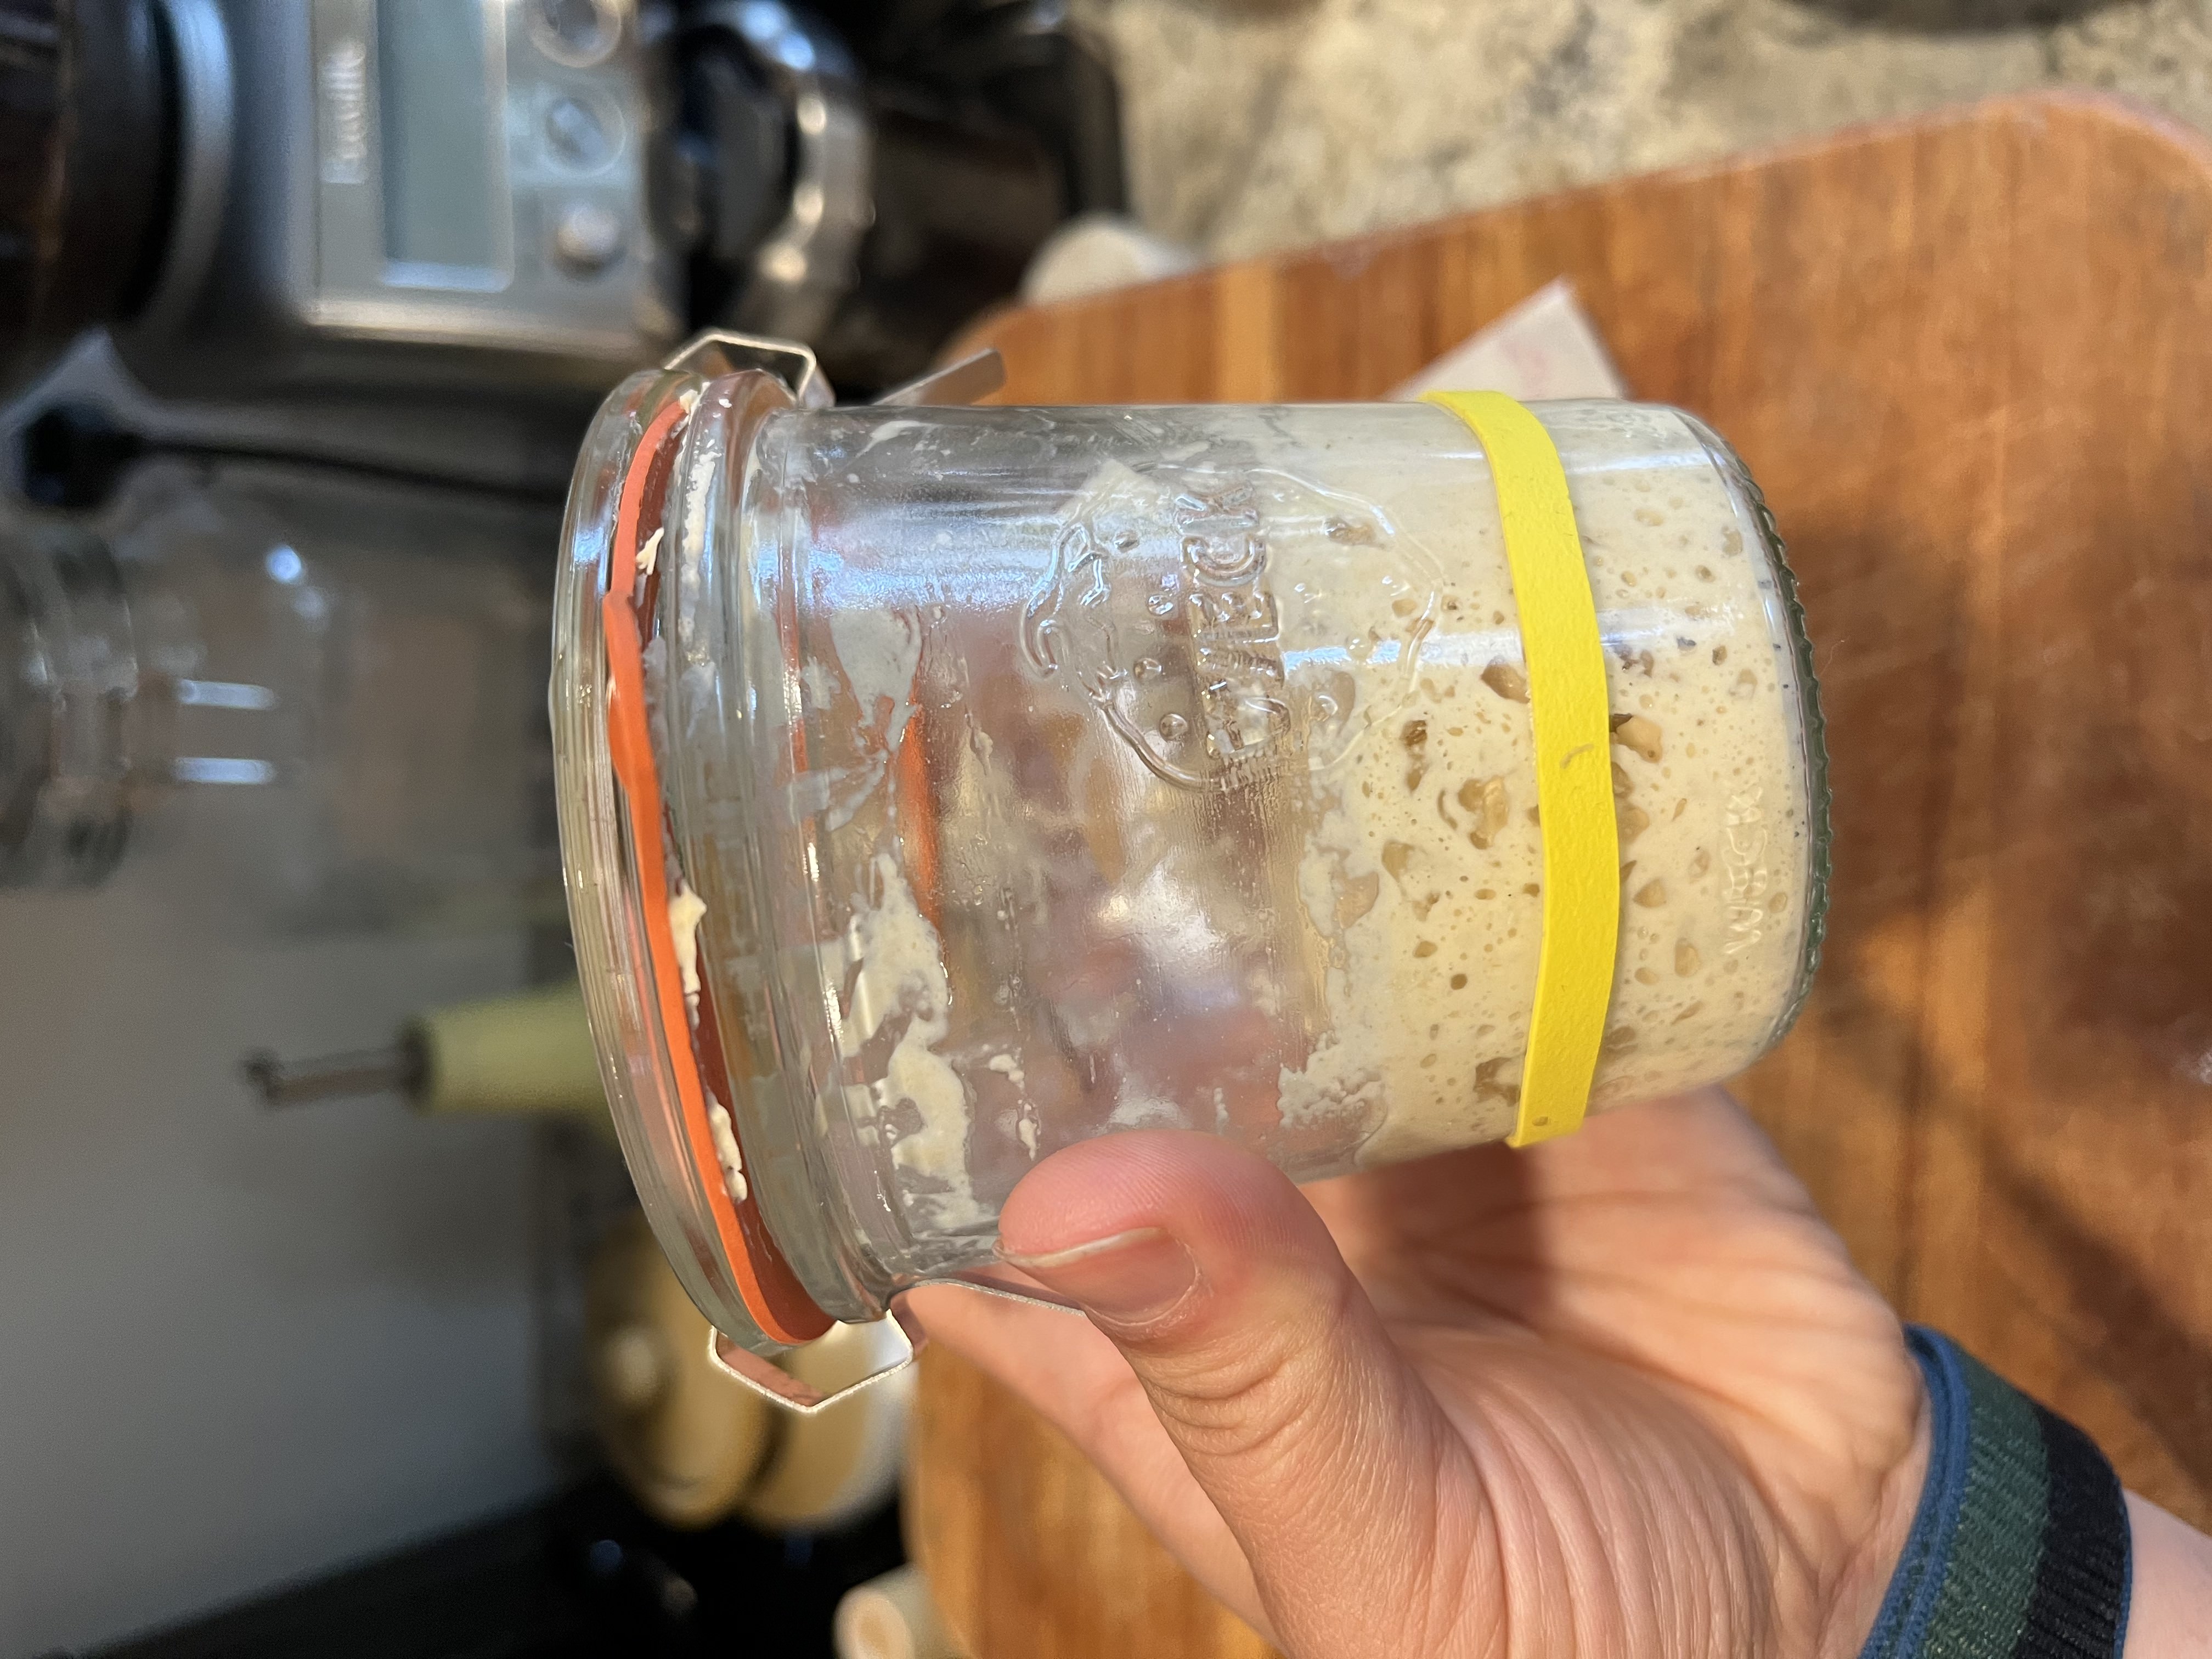
A starter is an equal parts mixture of flour and water. As the enzymes in the flour meet water, the starch molecules convert to sugar, which become food for the different microbes, most importantly food for yeast and lactic acid bacteria. Yeast converts the carbohydrates (sugar) into carbon dioxide and ethanol in a process called alcoholic fermentation. As the yeast feeds on sugar, it multiplies! This causes the starter to get bubbly and rise as gas bubbles form from the production of carbon dioxide. It multiplies faster in warmer environments, but will still grow at a slower pace in colder environments. When you trap these carbon dioxide bubbles in a developed gluten network, aka dough, you will see the dough rise as the gas bubbles expand. When you bake the dough, the high temperature promotes more growth of carbon dioxide, causing the gas bubbles to expand even further until ultimately, the the temperature kills the yeast and you are left with an airy sponge of bread.
The other important microbe in your starter is lactic acid bacteria (LAB). LAB is more plentiful in the starter compared to yeast by up to two orders of magnitude. LAB also feed on carbohydrates (sugar) like yeast, but unlike yeast which convert carbs to alcohol, LABs convert carbs to sour lactic acid in lacto fermentation. This lactic acid contributes two important things to your final loaf. The first, is the characteristically tangy, sour flavor. The lactic acid lowers the pH of your dough resulting in a slightly acidic taste. Second, lactic acid makes the dough a hostile environment for unwanted pathogens, through the process of lacto fermentation, a process used in fermented foods like sauerkraut that have a naturally higher shelf life. The lower pH inhibits the growth of mold and other “bad” bacteria. It is important to also note that lactic acid breaks down gluten. So, if your starter is too acidic (if you smell it, does it smell like acetone??), your dough will not be able to form a strong gluten network, which will cause the carbon dioxide to escape and you will get an extremely sour loaf with bad rise.
How do you make starter?
Before you commit to baking sourdough, you will need to invest in a good kitchen scale since sourdough (and all reliable baking) relies on mass measurements.
Now, let’s make some starter! The golden ratio for me is 1:2:2. This means 1 part old starter, 2 parts flour (1 part all-purpose (AP), and 1 part whole wheat (WW)), and 2 parts water. I like to keep my starter small at 50 g so that I do not have to discard too much every day. This means, every 24 hours, I scoop 10 g of old starter into a jar, add 10 g of AP, 10 g of WW, and 20 g of room temperature to slightly warm water. If you are starting from scratch, start with 25 g water and 25 g flour (equal parts of AP and WW) for the first day, then follow the 1:2:2 ratio on the following days. It will take a couple of weeks for your starter to rise and fall predictably, a sign that it is strong enough to leaven bread.
Normally, I feed my starter once a day around 8 pm. On the day before I want to bake bread, however, I feed my starter at the 1:2:2 ratio every ~12 hours, once when I wake up, around 8 am, and once in the evening around 8 pm. My baking schedule the day after starts at 8 am, so this gives my starter 12 hours to grow before I’m ready to start the dough making process. If you know you’re not going to bake for a while or you’re going on vacation, you can also feed your starter as usual and place in the fridge for a couple weeks at a time! I’ve had luck with up to two weeks but the longer you leave it in the fridge, the harder it is to revive to full strength, so tread cautiously!
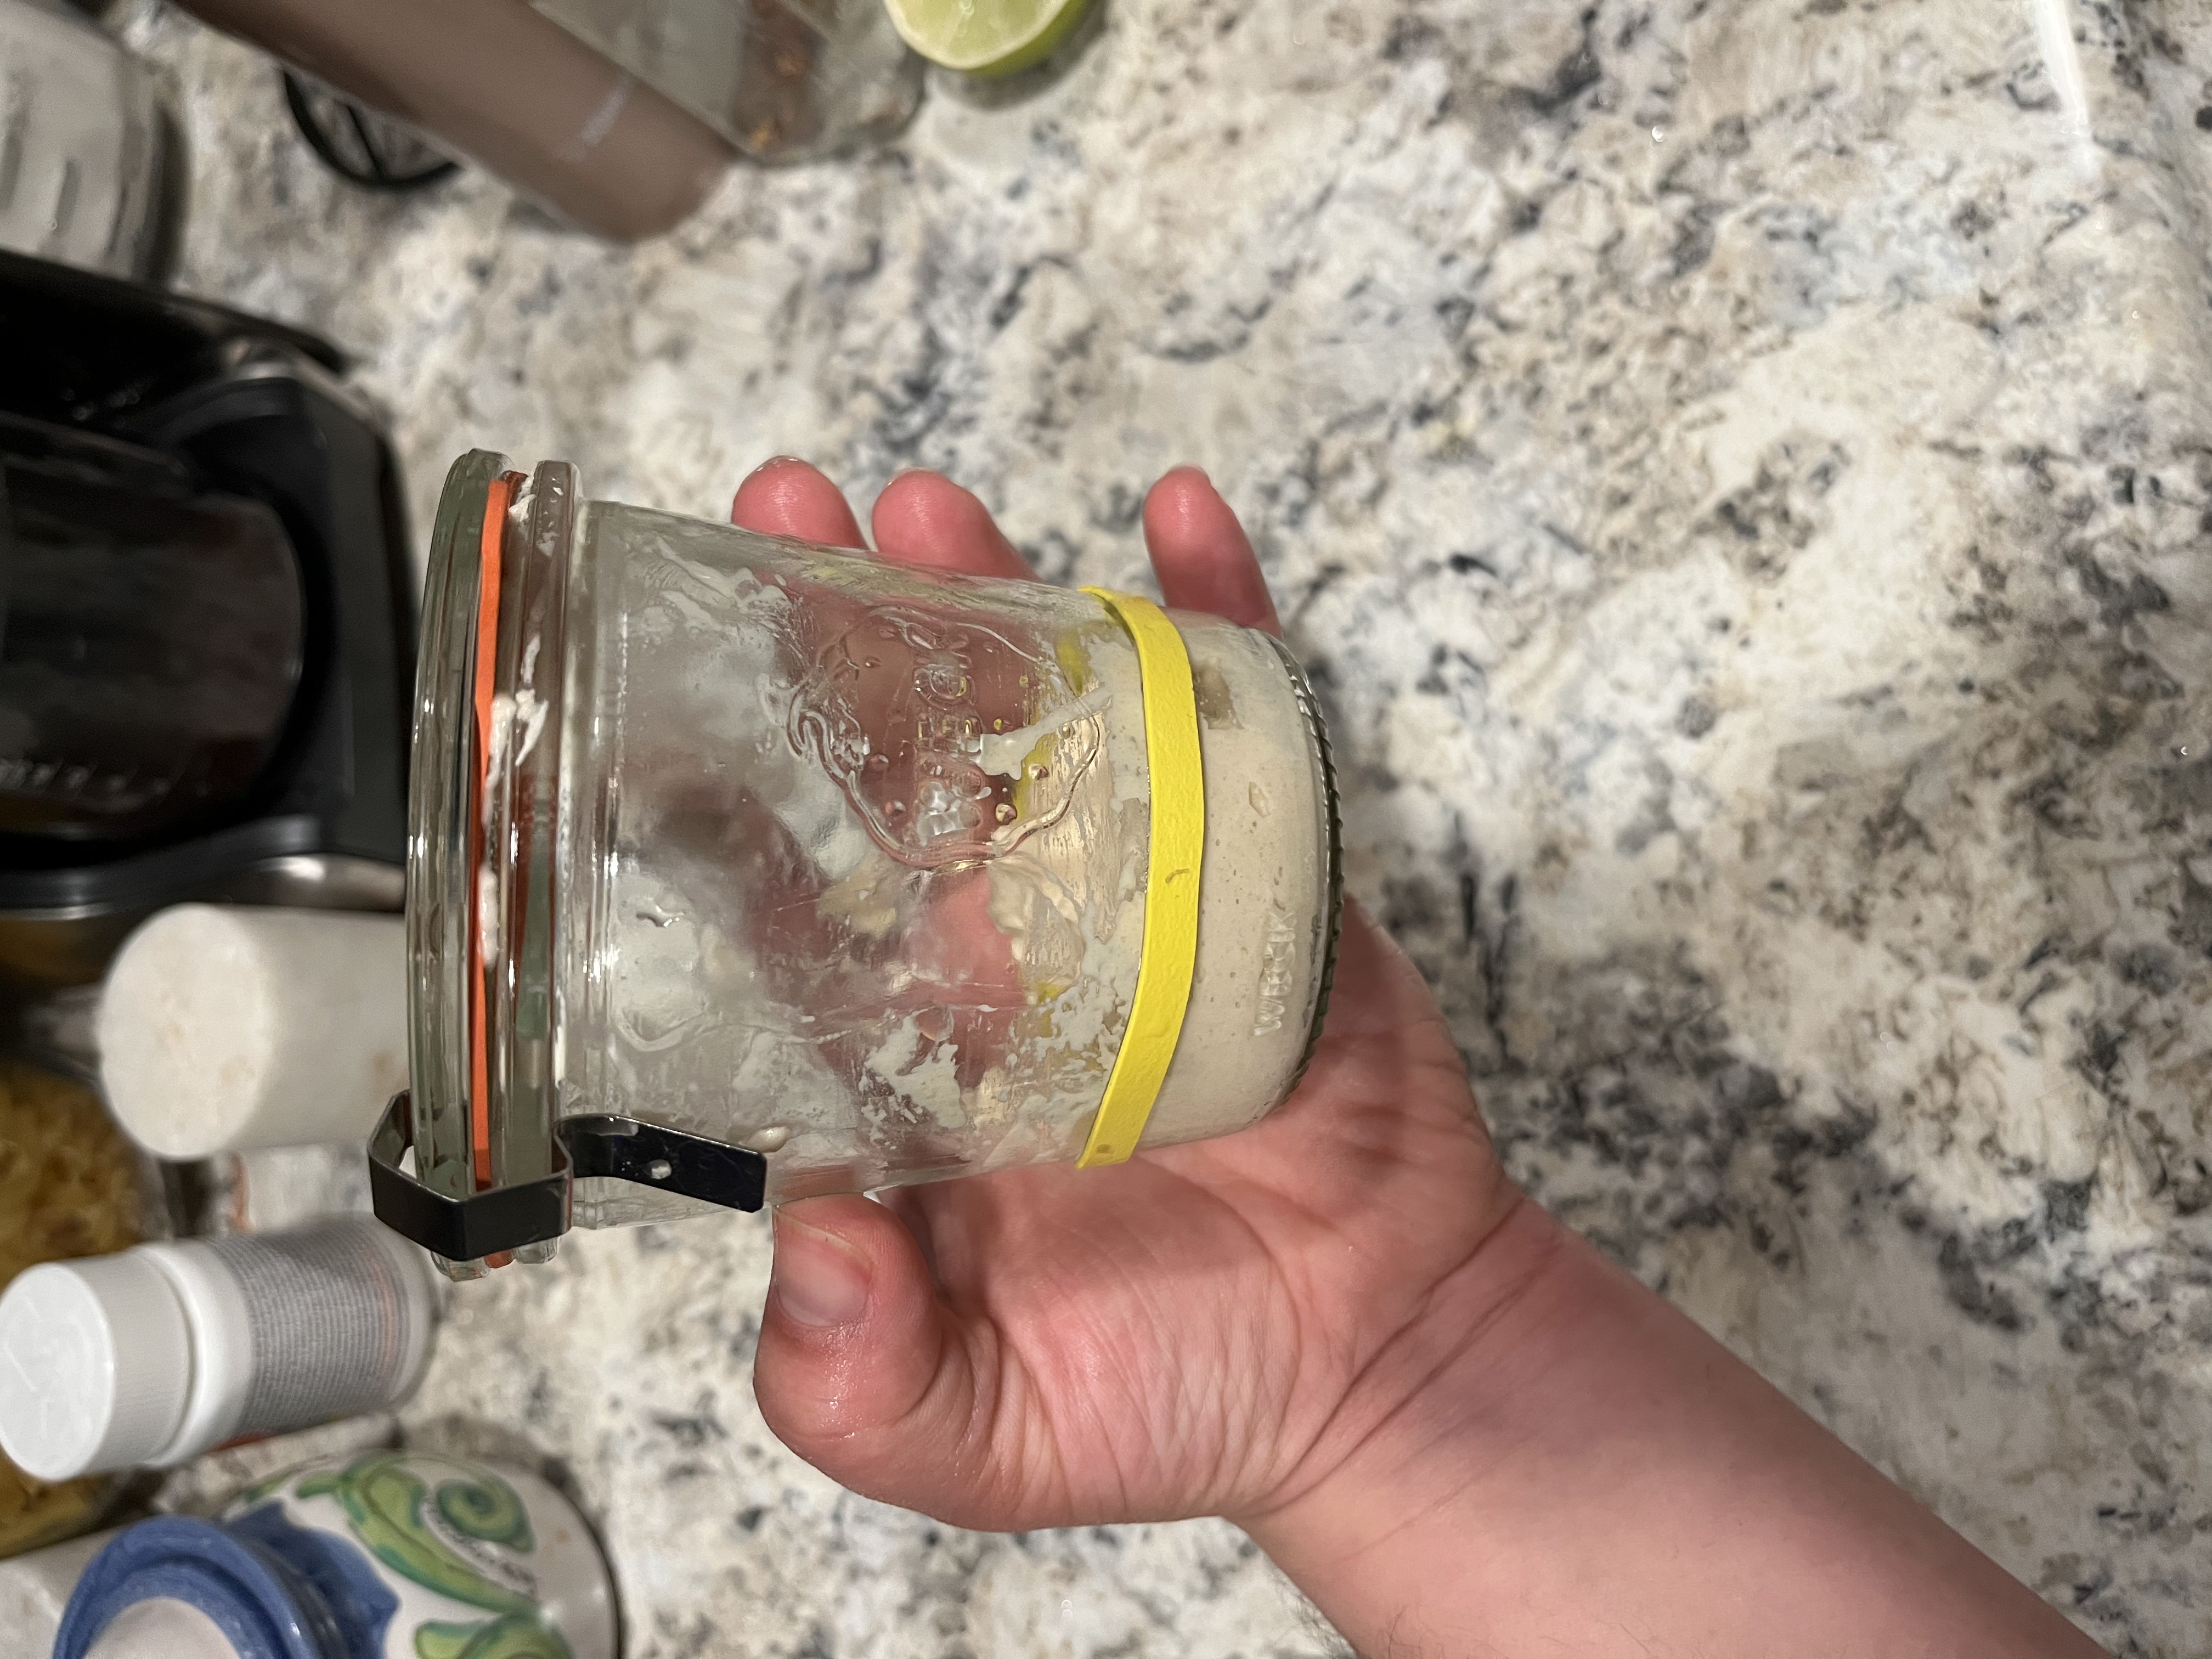
Meet Doughelena, my starter, lovingly named after Helena, my best friend who got me started on this journey and gave me a jar of her own starter when I began.
Baking Schedule
The tools you will need besides a kitchen scale are a banneton (a bread basket to shape the dough in), a thin piece of cloth (like a cheesecloth) to line the banneton with in order to prevent the dough from sticking to the basket, a sharp blade like a razor blade, and a dutch oven. Do not feel like you need to go out and buy all of these things, you can likely find replacements from what you already have! And, a bit of googling will also help you find alternatives to baking with a dutch oven.
Before I explain the steps of making dough, here is the schedule I follow which works for me and my kitchen environment. It might take some trial and error until you find what works for you, so don’t get discouraged if your first loaf comes out looking like a pancake! Mine certainly did for the first 6 months.
Day 1
8 am: Make 60 g levain at 1:2:2
12 g starter + 12 g AP + 12 g WW + 24 g water (around 85F)
10 am: Mix dough for autolyse
300 g bread flour (BF) (you can play with the ratios here! use atleast 150 g BF, and with the remaining 150 g, you can use a combination of AP, WW, Rye, or whatever!)
240 g water (around 95F)
1 pm: Mix dough
Mix autolysed dough with levain
1:30 pm: Mix in salt
Mix in 6 g of salt
1:30 pm - 8:30 pm : Bulk fermentation
Every hour or so, fold the dough, and laminate once
I do Fold - Fold - Laminate - Fold - Fold - Fold
8:30 pm: Bench rest
Shape the dough and place on countertop, seam side down, covered with an inverted bowl and let rest
9:30 pm: Final shape
Shape one final time into a tight boule and place in floured banneton, seam side up
Place the entire thing in a sealable bag and let rest in fridge overnight for a ~12 H cold proof
Day 2
8 am: Pre-heat oven
Pre-heat your oven at 500F with the dutch oven and lid inside
8:55 am: Score
Take out your proofed bread, invert onto parchment paper, lightly dust with flour and score with a sharp razor
9 am: Bake at 500F
Place scored bread into hot dutch oven, bake at 500F for 20 min with lid on
Place a cookie tray on the rack under the dutch oven so that the bottom of your bread doesn’t brown too much from direct exposure to heat
9:20 am: Bake at 450F
Reduce the temperature of the oven to 450F and bake uncovered for 15 min to develop color of bread
9:35 am: Done!
Take out bread and let cool before slicing!
Let’s break it down!
Levain
Levain is “young starter”. It is prepared some hours before you start the bulk fermentation process of your dough. It is a mixture of ripe starter and fresh water and flour. It is fermented for 4-5 hours, depending on your recipe, before it is mixed in with autolysed dough. There are a few reasons for using levain rather than ripe starter in your recipe. Personally, the most important reason for me is the delicate flavor you get from levain that tends towards a sweeter bread. You can control the pH profile of your levain, and thus the final taste profile, by changing the composition of the fresh flour you add. For example, using only AP will tend to a less sour taste than using just WW. After 4-5 hours of fermentation, your levain should be able to float if you drop a spoonful in water. This means it has built enough gas to leaven your bread. When you are learning to make levain, you can make two identical levains, for my recipe this means one 60 g levain which you can use to float test and one 60 g levain that will be used for baking. When your test levain floats, you’ll know your second levain is ready for the next step. Soon, you will be able to recognize the rise of the levain by eye and know it’s ready to be incorporated into your dough without doing a float test and having to make a second levain.
Autolyse
Autolyse is the process of combining flour and water until the flour is fully hydrated and just letting it rest for some time. This is not necessary, but you will find that including this step results in a more even crumb. This is because, during this autolyse period, gluten begins forming and strengthening. This results in a more elastic, stretchy, and smooth dough that is easier to build tension in. The more tension you can build, the more gas you can trap within the gluten network, resulting in a fluffy and even crumb. You don’t have to use any specific technique for autolysing dough! Just roughly mix it together until there is no dry flour left and let it sit covered for the required autolysis time.
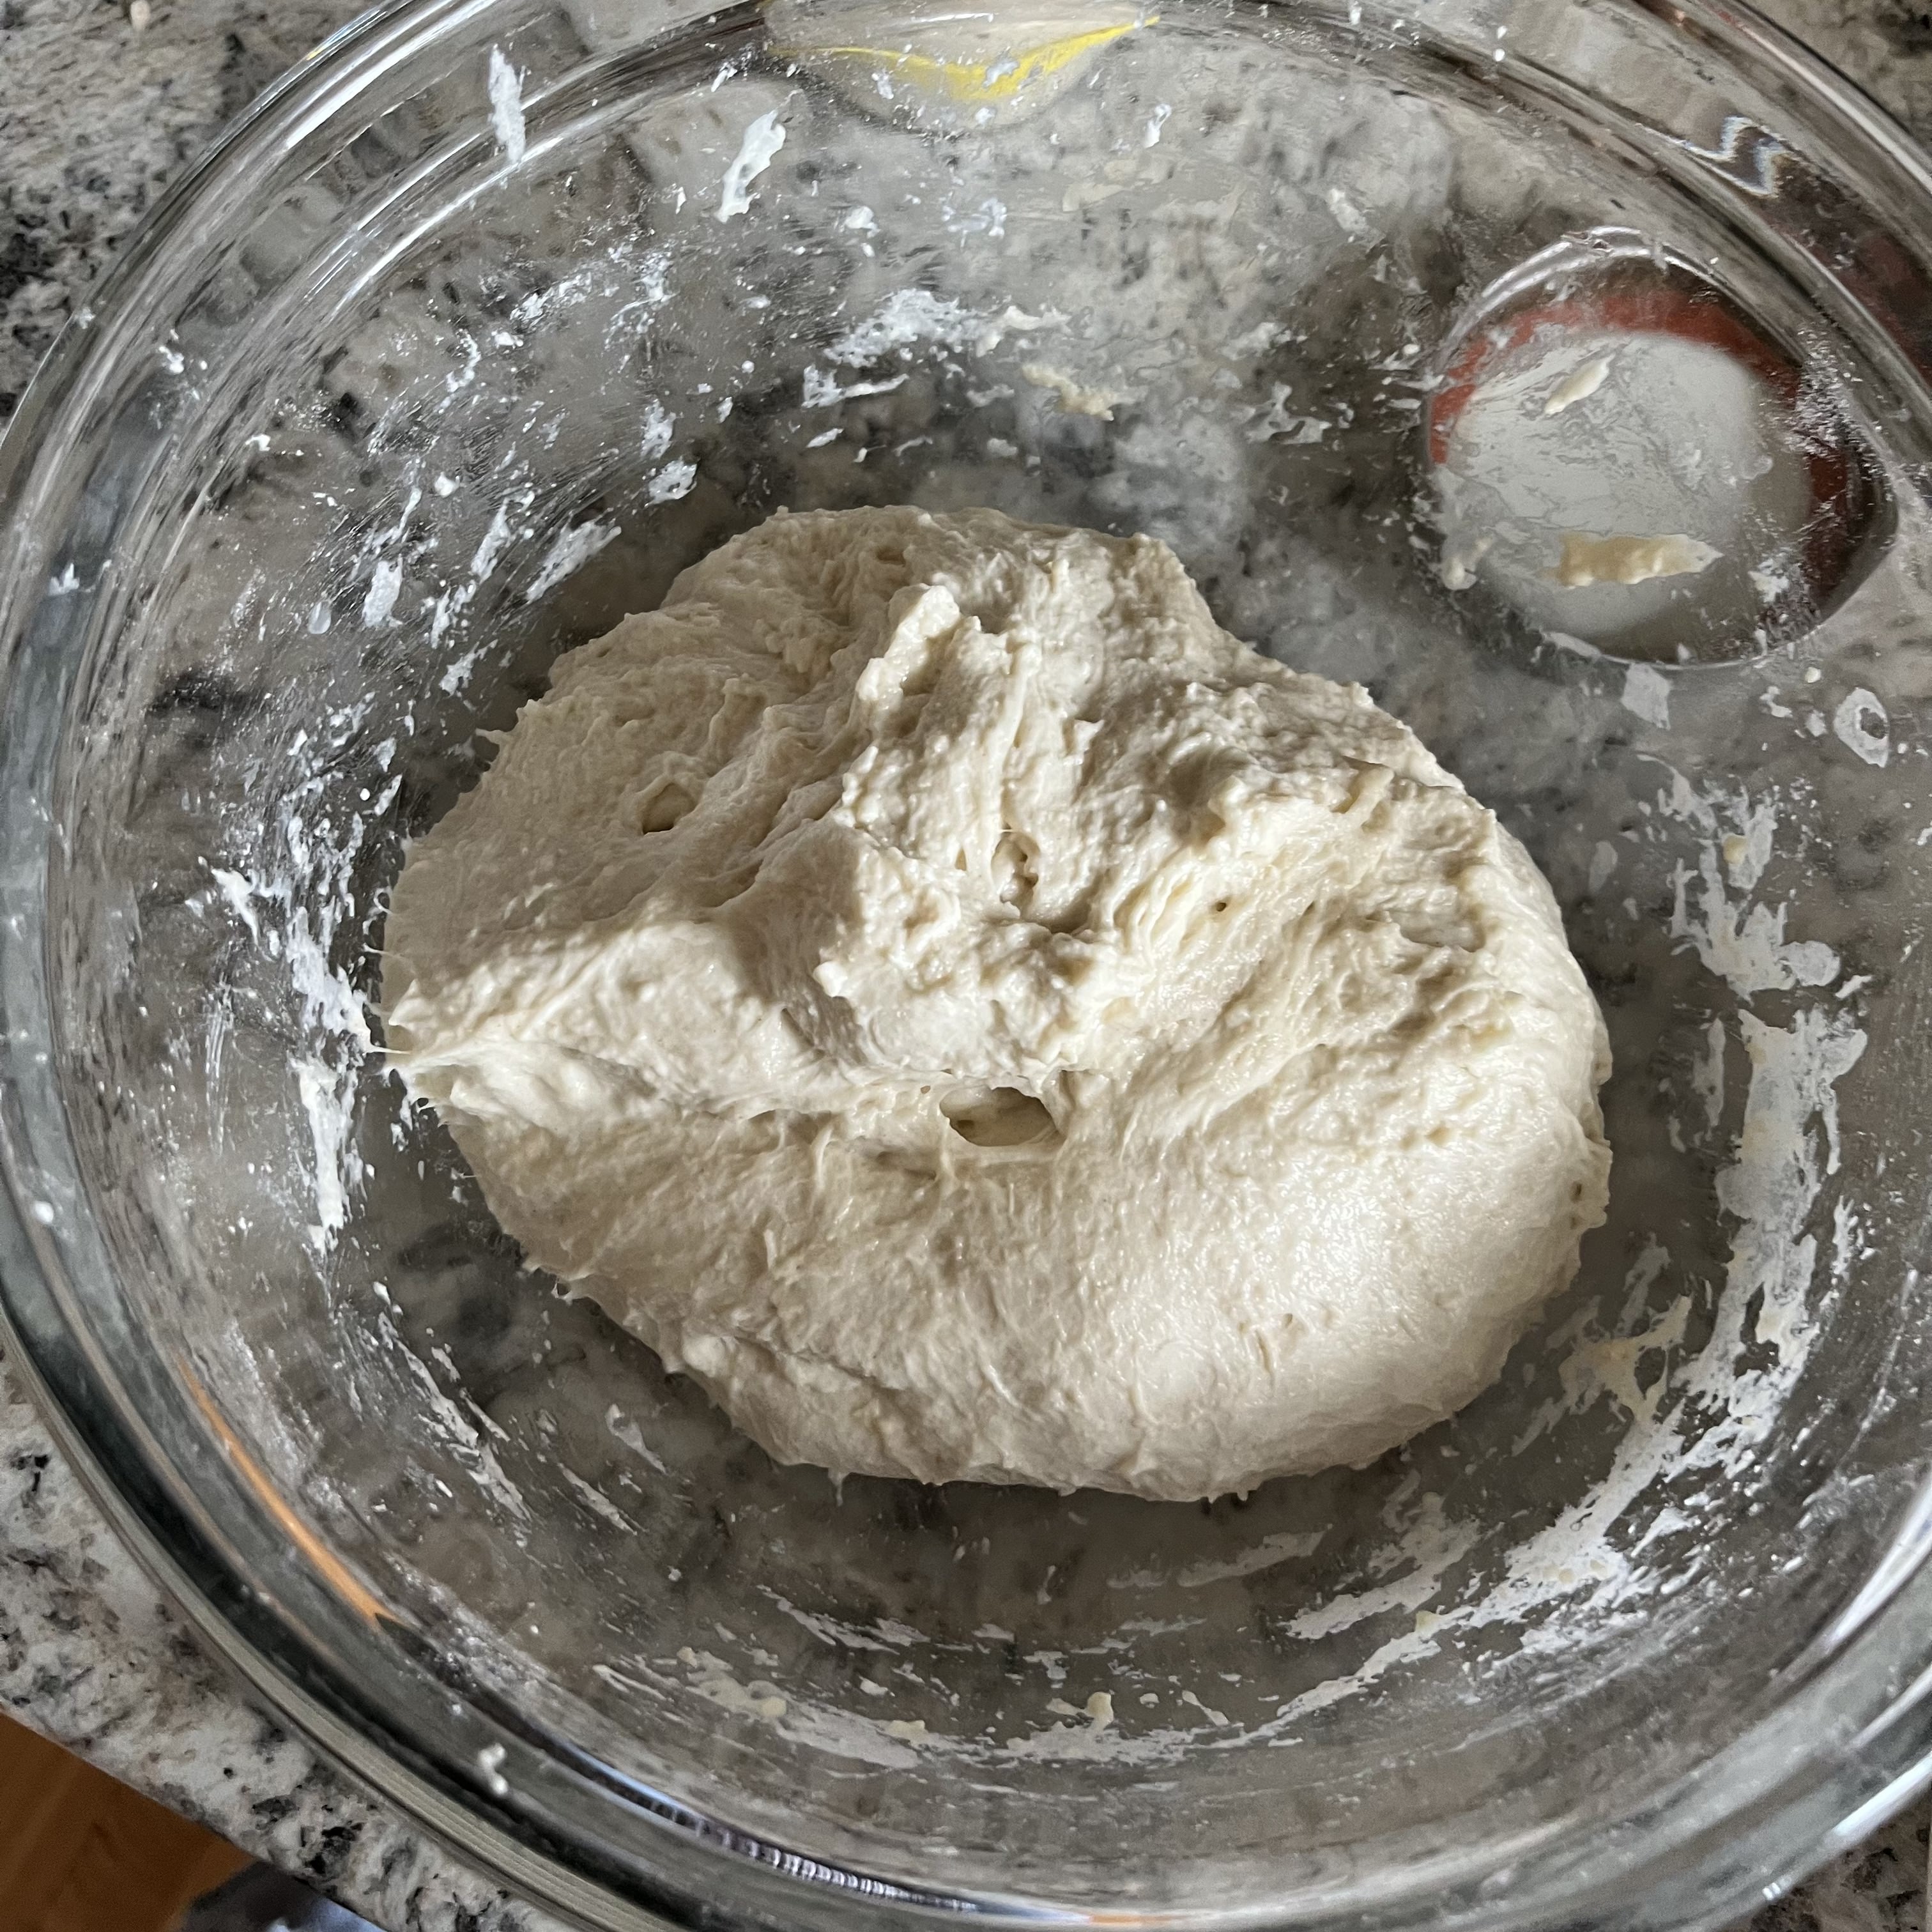
Mixing the Dough
From this stage forward, wet your hands before handling the dough to prevent it sticking to your fingers and tearing. I like to pinch the dough after adding the levain to make sure the levain is evenly distributed. This is the last stage of the dough where you can handle it roughly. After the fermentation process begins, you’ll want to be careful not to knock out the airy gas bubbles. So don’t be afraid to really get in there and mix the dough well at this point. After I’m satisfied with how evenly the levain is incorporated, I’ll start building tension by pulling the dough under itself to form a tight boule. Wait 30 min to incorporate the salt, allowing the gluten to relax and strengthen again. Use the same technique – pinch the salt in and then pull the dough into itself to form a boule.
Video of pinching. Video of making a boule.
Bulk Fermentation
This is the process which will develop the flavor and gas bubbles needed for the perfect tangy and airy crumb. During these ~6-7 hours, you want to handle the dough delicately. Wet your hands and slap and fold the dough every 40-50 mins during bulk fermentation. Slapping it allows the largest bubbles to burst which will even out the crumb. Folding, builds tension in the dough. Incorporate one or two laminations in between the folds. Laminating is not necessary, but I find that this step like slapping, evens out the crumb a lot. I do this earlier in the bulk fermentation process so that I’m not knocking out too much gas.
Video of slap and fold. Video of lamination.
Shaping
Video of shaping.
Scoring
Video of scoring.
Happy baking!!! This was A LOT and I would be so happy to talk to you about your baking challenges if you find yourself confused. Feel free to email me – I love talking about bread :)